
A few people have asked me how to do these. I've never done a tutorial before so bear with me.
Materials Required:
- 16 gauge round wire (I used copper)
- 24 gauge wire
- lampwork bead (or other type of bead)
- Wire cutters
- Chasing hammer
- Steel bench block
- Round nose pliers
- Chain nose pliers
- Wire straightening pliers or a cloth
- Sharpie or dowel
- fine sand paper
1. Place the end of your wire on the bench block and hammer .5" on both ends end flat.


2. Using your round nose pliers make a small loop on each end, facing in opposite directions.
Hint* Mark your pliers so you make consistent size loops every time.
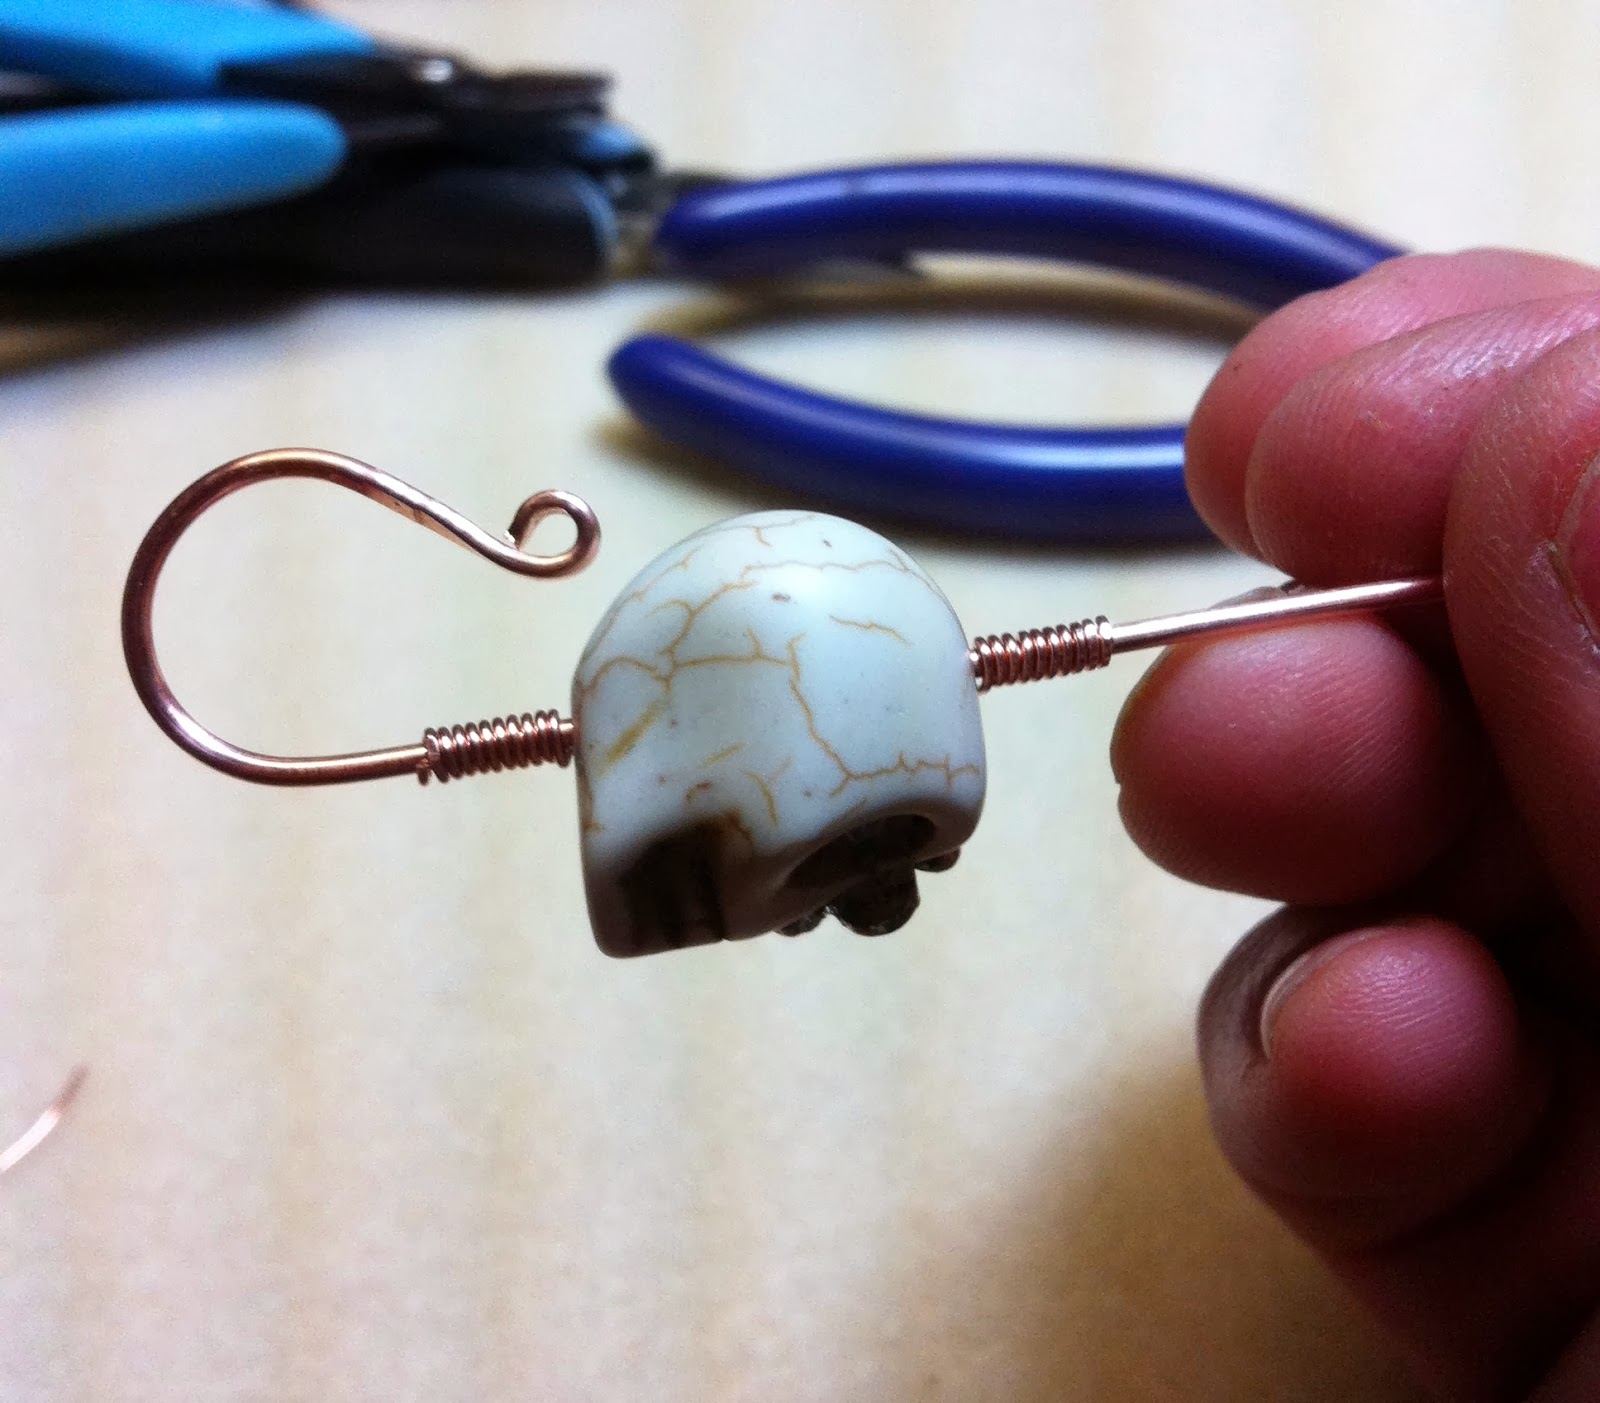
3. Cut a length of 24g to wrap your bead to keep it in place. I tend to work off the roll or over estimate what I think I might need. I'd rather waste a little than come up short. For the bead I'm working with (.5") I cut off approx. 10". Run it through your wire straightening pliers. It'll help to harden it a bit and straighten it out at the same time.
3a. Leave about a .5" tail to grip and start coiling around the base wire. Make sure the coils are tight and snug against each other. If you end up with a gap you can use your nails or pliers to snug them up. I find I like the longer coils better so 10-12 times around. Make sure your bead is snug up against your last coil and bring your wire up over the bead and start wrapping in the opposite direction on the other side. Check your wraps to ensure they are neat and tight against each other and hugging the bead closely. Now before you give everything a nice tightening, check to make sure your bead is in the middle. Adjust if necessary . When satisfied with the placement, take your chain nose pliers and gently tighten all the coils and snug up the ends. Be sure to tuck the ends in and check for bits that might stick out and catch on clothes.


4. Place your Sharpie or dowel just below one of the end loops on the flat side. Bend the wire around the marker with your other hand as though you were making the top half of an S. Now repeat for the other side. You may have to make some small adjustments to keep it balanced.

5. Now place one of the curves on the bench block and hammer to flatten the wire. You can decide if you want it to have a textured or smooth appearance. Both are nice. Sadly I haven't perfected the art of hammering without leaving any marks, so if I want it smooth, then I sand out any marks after I'm done hammering.
 | |||||
| Antiqued with Liver of Sulfur |
 |
| Hammered and untreated |
This little clasp will be great for a
Dia De los Muertos design
Dia De los Muertos design
I will have to try that,thanks for sharing Janice
ReplyDelete